19.7. Establishing a CIPE Connection
CIPE stands for Crypto IP Encapsulation. It is used to configure an IP tunneling device. For example, CIPE can be used to grant access from the outside world into a Virtual Private Network (VPN). If you need to setup a CIPE device, contact your system administrator for the correct values.
To configure a CIPE connection, follow these steps:
Click the Devices tab.
Click the New button on the toolbar.
Select CIPE (VPN) connection from the Device Type list and click Forward.
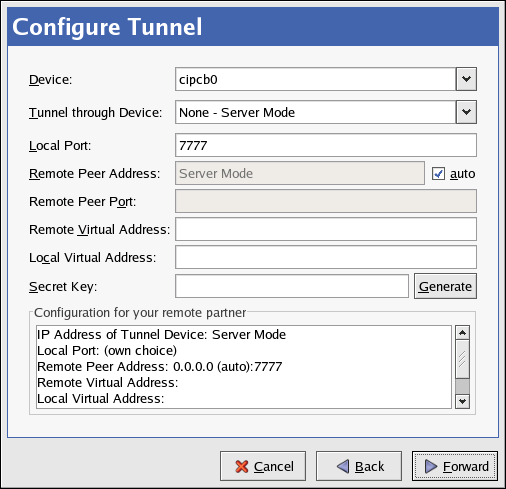
Contact your system administrator for the values to use.
Click Apply on the Create CIPE Connection page.
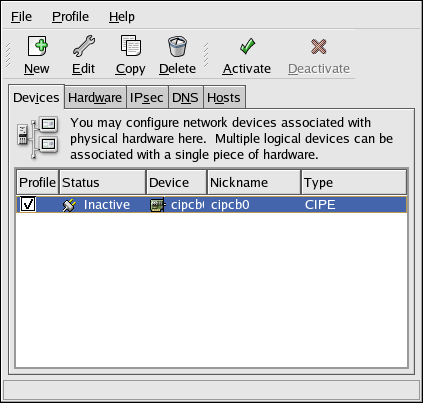
After configuring the CIPE device, it appears in the device list as shown in Figure 19-13.
Be sure to select File => Save to save the changes.
After adding the device, you can edit its configuration by selecting the device from the device list and clicking Edit. For example, you can configure whether the device is started at boot time and any routes to use while the device is activated.
When the device is added, it is not activated immediately, as seen by its Inactive status. To activate the device, select it from the device list, and click the Activate button. If the system is configured to activate the device when the computer starts (the default), this step does not have to be performed again.
 | Tip |
|---|---|
For more information on CIPE and setting up CIPE, refer to the Red Hat Enterprise Linux Security Guide. |